Showing posts with label making toys. Show all posts
soft shell
A couple of years ago I bought a little pattern for a turtle pincushion off of etsy when I was looking for some fabric. My making time has really dwindled recently — I have to focus more on drawing right now. When my son was a baby, the only things I could make easily near him were knitting and hand-sewing. Having a sewing machine, pins and iron out was too much trouble. Now, it's opposite. I don't have the time to knit, and if I have a spare hour in the week to make something I need it to be efficient. I need a machine! Anyway, I tried out this turtle for a birthday present. I used muslin lining instead of interfacing to keep it soft, and I used velvet for the body (which is really hard to keep straight, but feels nice). My auggie, who is now 3 1/2 and whose interests are: trucks, cars, emergency vehicles, lego (and now skateboards) surprised me by asking for one of these. He's asked 4 times. It's partly the velvet, I think. I was going to use one of his dad's old shirts instead of the flower fabric, but he really wants the flowers, so I'll try to do another one if I can soon.
Softy Pigs (Miyako Kanamori: Part 3)

I posted earlier about Miyako Kanamori's Sock and Glove (Creating Charming Softy Friends from Cast-off Socks and Gloves). As you can tell from the title, this very sweet and simple book has easy patterns for fashioning stuffed animals from gloves and socks. A few of the patterns, such as the fish we posted about, are suitable for socks that have lost their mates. However, most of the patterns require a pair of socks that are in good condition (including the heels and toes). We don't often have extra pairs of socks in good condition, but we do often have t-shirts and sweaters that get a few holes, snags, tears or worn through the elbows. Could you just cut sock shapes out of the fabric and use the arms for the bits of the pattern calling for a tube shape?
A beautiful pink pullover which accidentally wound up in the dryer + a stripey long sleeve t-shirt with worn elbows provided the opportunity to try it out and yielded 4 pigs and 2 pig t-shirts. The first pig went to a birthday party and was promptly named Rocco and given a flowered kimono to wear over his striped shirt. The remaining 3 are currently waiting for a big bad wolf to join them (although, they've been waiting for more than a year now).

Here are the 3 little pigs: Karate Pig, Friendly Pig and Farmer Pig.

Rocco.

The original dog I tried from the book. A tip if you try these patterns: overstuff. The stuffing gets compacted really quickly.
This concludes my Kanamori series!
How to Make a Pom Pom Character Part 1

Thanks to our friend Roger for pointing out that vancouverisawesome did a little feature on Foggy for our Word on the Street appearance.
This has prompted us to finally put up our pom pom instructions.
We'll try to put up some photo instructions, but in the meantime, there is quite a good tutorial here.
We have some Hallowe'en pom pom ideas here (see part 2).
Sock fish
Miyako Kanamori: Part 1

Sock and Glove: Creating Charming Softy Friends from Cast-off Socks and Gloves by Miyako Kanamori is a very good book! (Phew...out of breath from that last sentence.) As you might guess from its descriptive title, this book gives you patterns for making little softies from socks (mostly long socks) and gloves. The patterns are quite simple and you can use a machine or hand sewing for the projects. This is a good book for your bookshelf; it has a lot of easy, fun projects.

One little note: most of the patterns involve a pair of gloves or a pair of socks, and they need to be in fairly good condition (toes and heels are often part of the pattern), so this won't help you use old socks. However, all you need is a pack of work socks and you're off. The gloves in the book are mostly rough work/gardening gloves, which you can find in Vancouver for about $2, so that's quite economical.
Anyway, we'd like to show a couple of projects from the book, beginning with sock fish. These fish were not the very cutest project, but they are very simple, quick, and they only use one sock (and they are great for baby socks, which often lose their mate and remain in good condition even after wear).
Kanamori's fish has a button eye and uses a sock with a contrasting colour for the toe, which looks very cute. However, we didn't have any socks like that, so we tried adding a little blanket stitching to separate the head from the body (and to make a little fin). Because these are for babies, we stitched on felt eyes which are safer.

Sock and Glove: Creating Charming Softy Friends from Cast-off Socks and Gloves by Miyako Kanamori is a very good book! (Phew...out of breath from that last sentence.) As you might guess from its descriptive title, this book gives you patterns for making little softies from socks (mostly long socks) and gloves. The patterns are quite simple and you can use a machine or hand sewing for the projects. This is a good book for your bookshelf; it has a lot of easy, fun projects.

One little note: most of the patterns involve a pair of gloves or a pair of socks, and they need to be in fairly good condition (toes and heels are often part of the pattern), so this won't help you use old socks. However, all you need is a pack of work socks and you're off. The gloves in the book are mostly rough work/gardening gloves, which you can find in Vancouver for about $2, so that's quite economical.
Anyway, we'd like to show a couple of projects from the book, beginning with sock fish. These fish were not the very cutest project, but they are very simple, quick, and they only use one sock (and they are great for baby socks, which often lose their mate and remain in good condition even after wear).
Kanamori's fish has a button eye and uses a sock with a contrasting colour for the toe, which looks very cute. However, we didn't have any socks like that, so we tried adding a little blanket stitching to separate the head from the body (and to make a little fin). Because these are for babies, we stitched on felt eyes which are safer.
How to make a mini kite

There are many ways to make a mini kite. If you would like to make a real kite, there are directions here.)
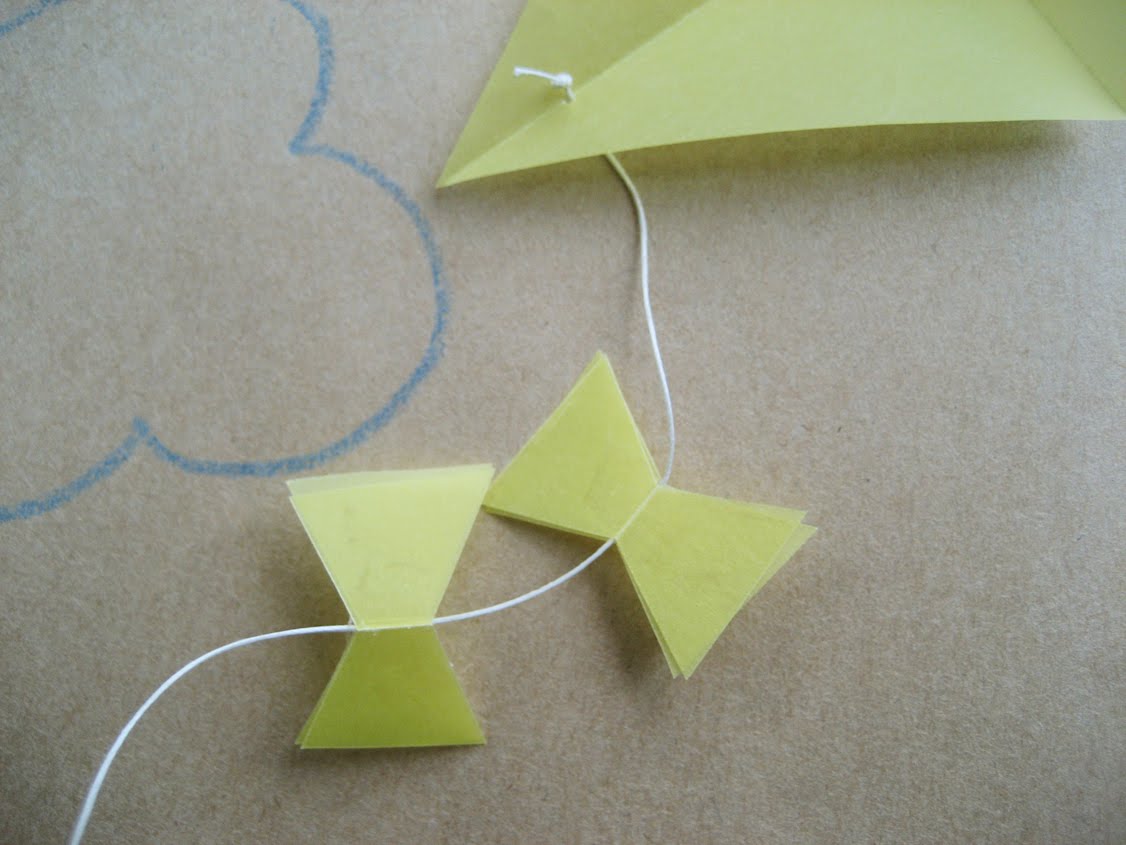
For a real kite the tail is attached to the bottom corner of the kite, separate from the main kite string, but this can get a little bulky on a mini kite. We often just have one main string and attach the bows to that.
Materials: The only special materials we sometime use are cloth covered wire, or florist's wire to make the string stay up in the air. Where you see "tape" or "glue" in the instructions, we often use little bits of double-sided tape as it is more forgiving. But regular tape and glue are ok, too. The kites on these pages use linen thread and wool for string.
Simple folded paper


This is the easiest way to make a kite. You just cut a diamond out of stiff paper (translucent coloured vellum paper works very, very well for this). Firmly fold in half lengthwise and crosswise, unfold. Glue or use a little piece of tape to attach a string or wire to the backside of the kite. Or you can pierce a little hole, pass your string through and knot it. You can also add some bows. Done!
Paper, sticks and glue


Take two small twigs, or sticks or toothpicks and place them crosswise, one on top of the other. Put a daub of glue or tape between them. Wrap some thread around the centre in a figure 8 pattern and knot, leaving one or two long tails. This will be the string and tail for your kite, so leave the ends quite long (this is a bit of a mistake in our photos: we cut them and had to add an extra string after). Knot or glue in place.
Next, place your frame on a piece of tissue or other light paper. Trace a diamond around your frame. Trace a bigger diamond around your first diamond. Cut out the bigger diamond. Fold along the lines of your smaller diamond. Place your frame in the middle of your diamond and if everything is lining up, put a dollop of glue or tape between the centre of your kite frame and the paper. Then glue and fold the edges of your diamond over the frame.
Cut your kite string and tail to the length you want. Decorate your tail with bows or whatever you like. We made vegetable bows for the bunnies' kites last year.
Paper or cloth with stitching
You can use a firmer paper or stiff cloth and stitch around the hem of the kite, using the directions above and the sewing around the hem by hand.
One last thing: you can make a little spool out of a little twig, empty spool of thread, or clothespin, and wind the end of the string onto it. This also acts as a holder.
Subscribe to:
Posts (Atom)